


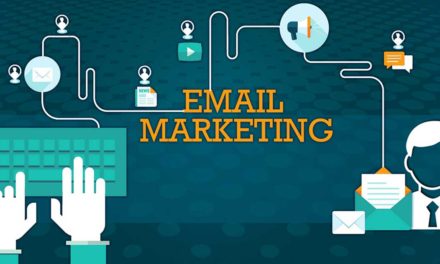
Email Marketing and How to Increase Sales with MailChimp

Email MarketingEmail Marketing
How to Increase Sales with MailChimp
How to Increase Sales with MailChimp
How to Increase Sales with MailChimp
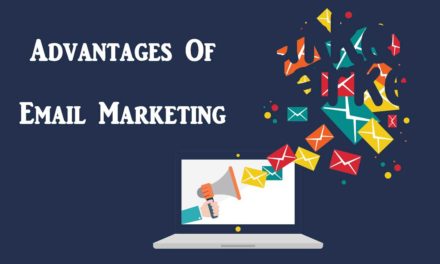
Mail marketing is one of the tools that some people do not understand its importance, but it will still be one of the most influential tools in digital marketing. MailChimp – an e-mailing platform – is one of the popular e-marketing tools that help you send attractive messages and manage the list of people sent to it as you see analysis A breakdown of the campaign you started.
When and why is this tool used?
MailChimp provides you with direct connections between you and your customers. You do not only advertise your product or service through a page full of ads, but you go to your customer directly through his e-mail by using a personalized message for them. Use this tool when you want to reach a specific customer with a direct message. Also, you can know the reaction of the message if he reads it or not and if he canceled the registration from your list.
How to use MailChimp?
First Step: Register
As with any electronic tool, you must register in your name or company name via MailChimp. When you visit the platform, you will find many instructions and articles that guide you on how to use the platform and why you should use it. You will find the “Register for Free” button at the top of your screen, and then choose Register My Profile.
The second step: Get your customers
All you need now is to add the subscribers’ email, go to add a new list and click on bring customers. MailChimp gives you the opportunity to import clients via an excel sheet or by entering each mail separately. And do not forget to divide the lists, for example interests and customers, you can create more than one list.
Third Step: Start your campaign
Now you can choose the list of recipients and then start your campaign. Why do you want to send the message and the message that you want to deliver to the customer? And the reaction you expect from the customer? Design the mail on this basis. You can choose ready-made designs or you can create your own design, but it is preferable to use ready-made designs when sending the first mail. Save and post it and write the title of the message and the name of the sender (it can be your name or the company name depending on your marketing plan)
Fourth Step: Send the e-mail
After filling in all the details, you can add the time you would like to send the message, add a time that suits you and remember that the beginning of the week is a good time when people check their email after the weekend. Now you can send it and your message will reach everyone.
Fifth step: see the report
One of the most important and successful features of MailChimp is that you are not finished after sending the message, so this tool gives you some signs or insights about what subscribers want or do not want. Click the Reports button to see how many people opened the message, how many people visited it, any links in the message, and how many people canceled the registration or marked it as spam. With these insights, you can improve your next campaign. After each campaign, check out the MailChimp e-Campaigns Checklist attached to the article.
Tips for using MailChimp
Postal marketing is a powerful tool to monitor the behavior of each user you have, so take advantage of the opportunity and add a call-to-action button in the message and at least one button through which you ask users to go to a specific link or to buy your product, click here. In this case, you will increase the presence of your platform and understand the motives that encourage them to take a positive step towards your product
Pros and cons of this MailChimp
MailChimp gives more than 2000 subscribers and 12,000 messages for free, but there are some necessary features that are not available in the free version, such as the automatic reply feature, and if you want it, you must plan for this in advance.


